Bootstrap a React Typescript Tailwind v4 App with Gemini CLI
Learn how to utilize Gemini CLI to start a project build using React Typescript and Tailwind enabled.
Code generation has gone a long way in the past two to three years. I started exploring Amazon CodeWhisperer back then. It was still in the very early stages but it was already fascinating to see code completion and generation of simple commonly used algorithm like sorting arrays and string manipulation. Now, AI with agents are not just limited to code snippets. They can build an entire project for you.
Recently, I have been “vibe coding” with Gemini CLI and have released a side-project to production with its help (or it released the project with my help?). Throughout the process, I realized that I used AI in an already bootstrapped project with my preferred stack and framework. In this post, I want to try starting from scratch and will share my experience on how to bootstrap an empty project with Gemini CLI.
I have also recorded this build process and you can watch it here.
Add context in GEMINI.md
First, let’s write the context in the GEMINI.md file. This will guide the AI on what we want to build. It contains the steps necessary to create a new project in React Typescript, installs the dependenies, setup Tailwind CSS version 4, clean-up the default CSS, and create a new landing page with a message. By giving such context, you have more control on what Gemini will do in building the project.
1
2
3
4
5
6
7
8
9
10
11
12
13
14
15
16
17
18
19
20
21
22
23
24
25
26
27
28
29
30
31
32
33
34
35
36
37
38
39
40
41
42
43
44
45
46
47
48
49
50
51
52
53
54
55
56
57
58
59
60
61
62
63
# GEMINI

## Bootstrap a React Typescript app with Tailwind v4
### Create a new React TS project
1. Create the project

    ```
    npm create vite@latest [app-name] -- --template react-ts
    ```

1. Go to the project folder and install dependencies.

    ```
    cd [app-name]
    npm install
    ```

### Add Tailwind v4 in the project
1. Install Tailwind CSS for Vite. Make sure you are in the project folder.

    ```
    npm install tailwindcss @tailwindcss/vite
    ```

1. Edit `vite.config.ts`.

    1. Add `tailwindcss/vite` in the imports section.

        ```
        import tailwindcss from '@tailwindcss/vite'
        ```

    1. Add Tailwind CSS in the plugins section. If there are other plugins defined, do not remove them. Just append `tailwindcss()` at the end.

        ```
        export default defineConfig({
        plugins: [
            tailwindcss(),
        ],
        })
        ```

1. Clear the default CSS files.
    1. Delete App.css and index.css

    ```
    rm src/App.css
    rm src/index.css
    ```

    1. Create a new index.css.

    ```
    touch src/index.css
    ```

    1. Edit `src/index.css` and add the Tailwind CSS import.

    ```
    @import "tailwindcss";
    ```

1. Refer to the Tailwind installation using Vite [doc](https://tailwindcss.com/docs/installation/using-vite) for details.
Run Gemini CLI in an empty folder
Create an empty folder and save the GEMINI.md file in it.
1
2
3
mkdir bootstrap-react-ts-twind
cd bootstrap-react-ts-twind
touch GEMINI.md #update this file
1
npx https://github.com/google-gemini/gemini-cli
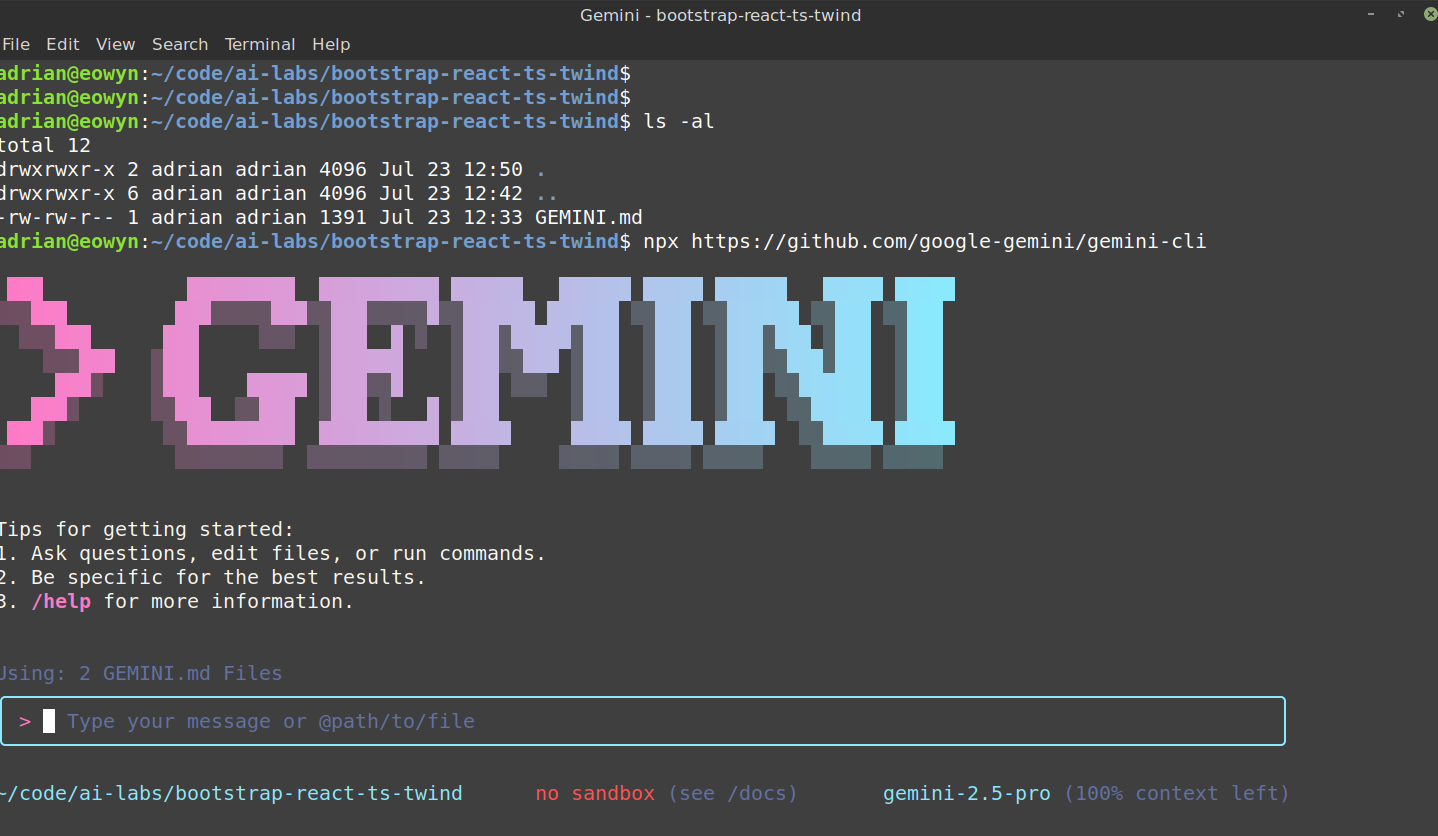 Gemini CLI console
Prompt Gemini
With the Gemini CLI running, give it the instructions to start your project.
1
2
3
4
5
6
7
8
9
10
Create a web app called my-app that displays the following in the landing page.

"Welcome to my React Typescript app built by Gemini CLI."

Use Vite and Tailwind.
Install Tailwind CSS in the project.
Clean the default CSS files and use Tailwind CSS.
Use Tailwind to design the styles of the landing page and make it appealing.

Follow the steps at @GEMINI.md
Somehow I had to explicitly mention in the prompt to follow the GEMINI.md document.
When you type
@in Gemini CLI, it adds context to the prompt by referencing a file. See/helpfor details and other commands.
Gemini CLI building process
As Gemini runs and sets up your project, it will prompt you everytime it needs to execute a command. Review it and accept to proceed.
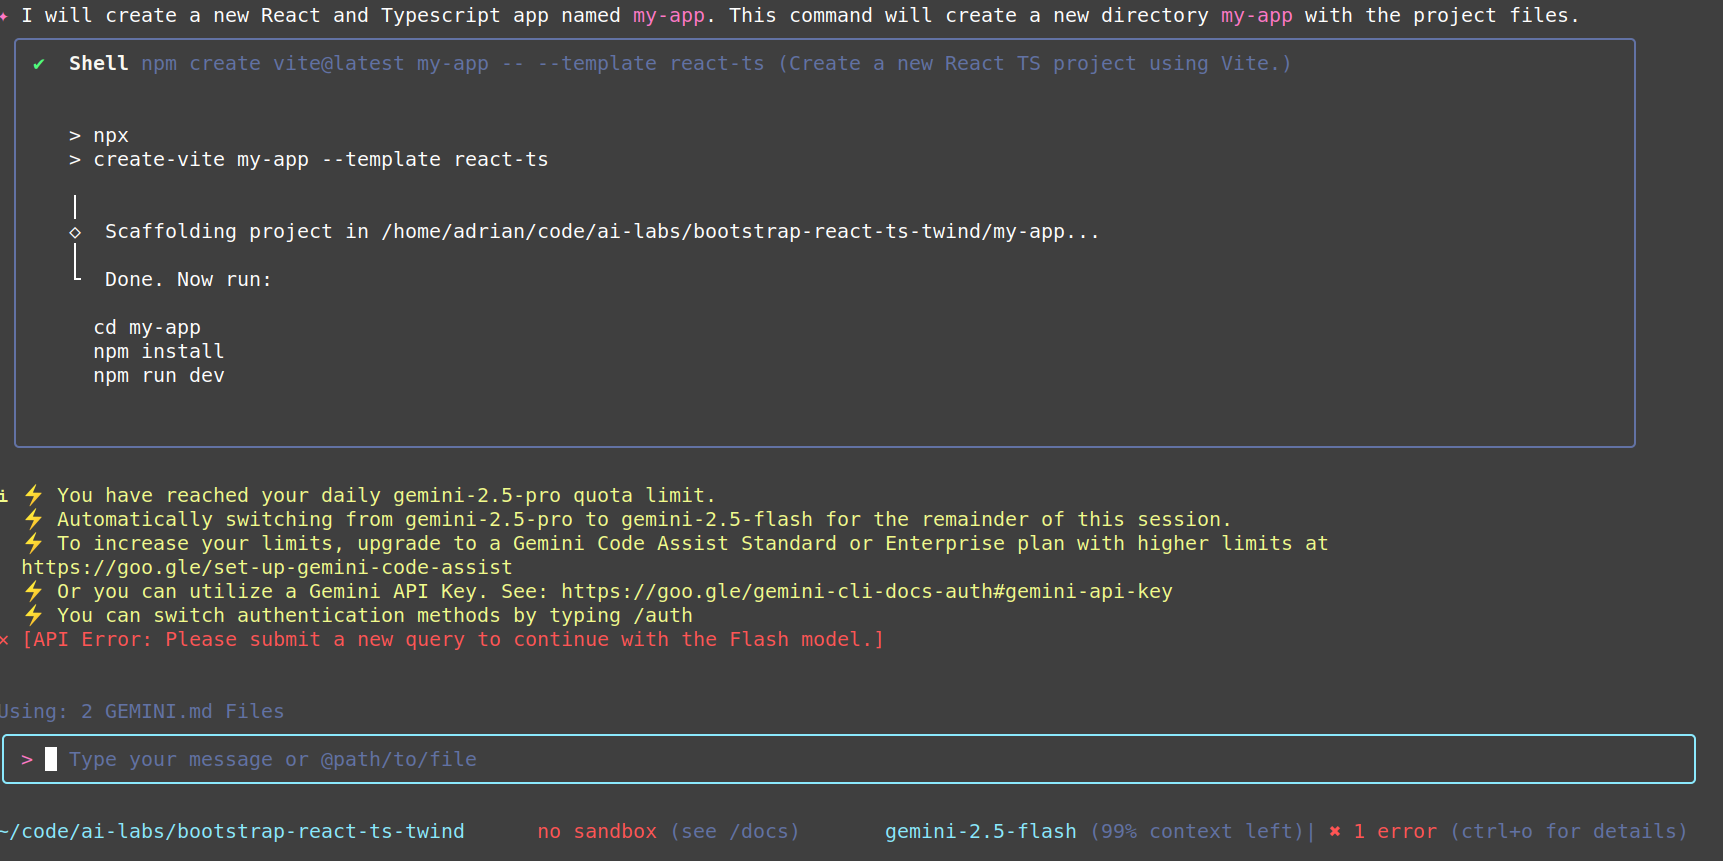
In this screenshot, it asks to execute the project creation using Vite and the React TS template. This is basically following the document we created which is correct.
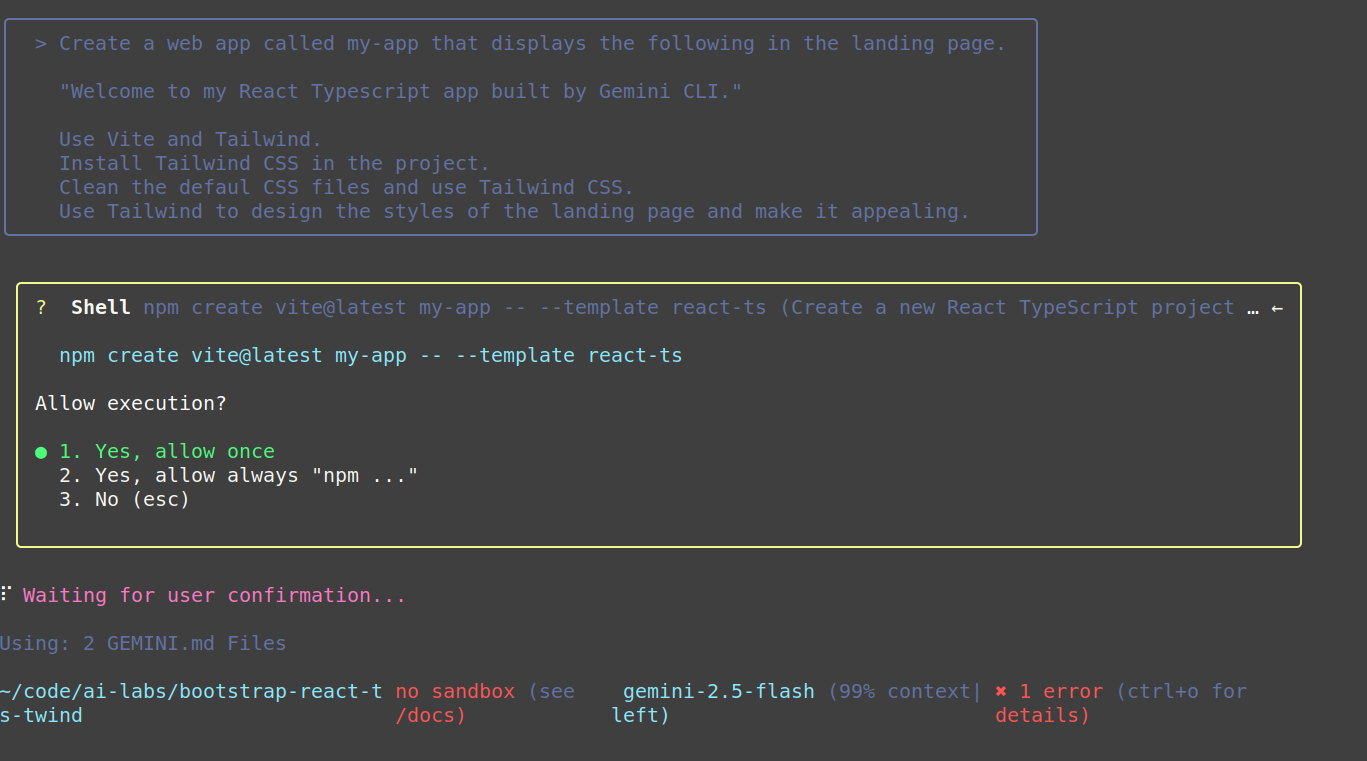 Gemini CLI execution prompt
Gemini Pro limit
Once in a while, you might hit a limit using the Gemini Pro 2.5 model. It will force you to use a smaller but faster model in Gemini 2.5 Flash. Just retry the prompt if this happens.
 Gemini CLI execution prompt
Test the React app
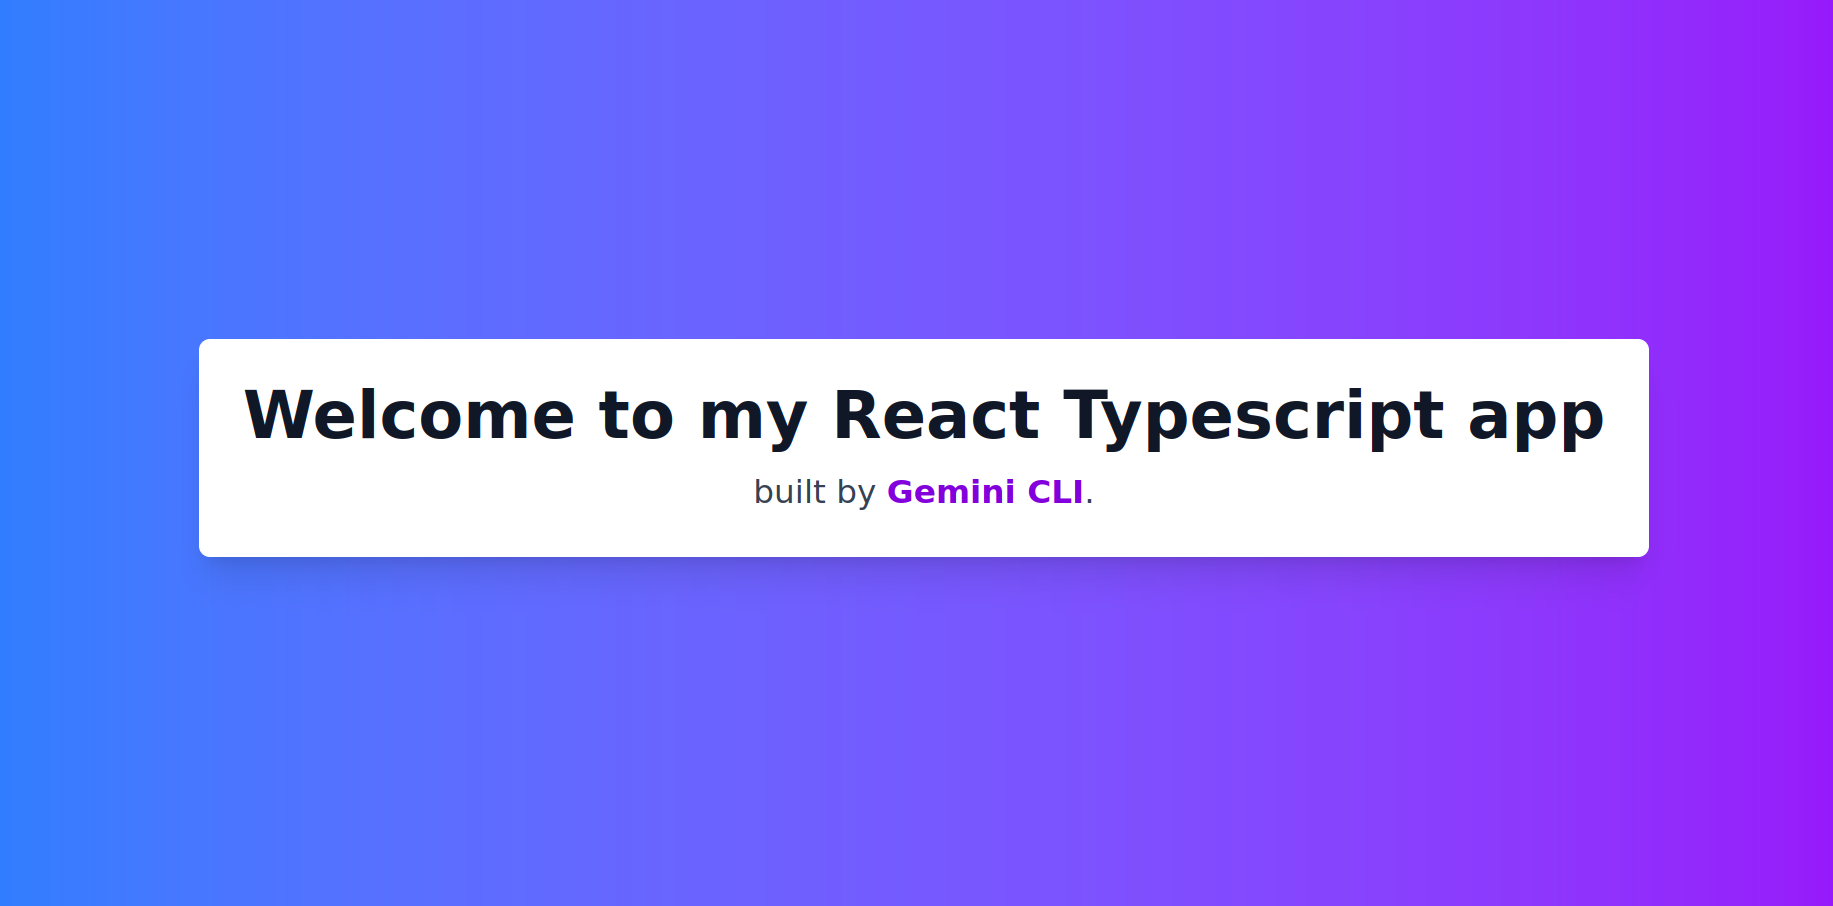
After Gemini completes, run the app locally.
1
npm run dev
Check the landing page at http://localhost:5173/.
It worked! It’s pretty cool to see a working project setup without wrinting any code.
Now your mileage may vary as AI can be unpredictable at times. Retry if that happens. But with a clear context guide, the outcome can be more deterministic.
 Gemini CLI React landing page
Verify the project contents
Now, let’s verify the contents of the project whether it followed the steps properly.
Dependencies were installed.
1
2
3
4
5
6
7
8
9
10
11
12
13
14
15
16
17
$ npm list
my-app@0.0.0 bootstrap-react-ts-twind/my-app
├── @eslint/js@9.31.0
├── @tailwindcss/vite@4.1.11
├── @types/react-dom@19.1.6
├── @types/react@19.1.8
├── @vitejs/plugin-react@4.7.0
├── eslint-plugin-react-hooks@5.2.0
├── eslint-plugin-react-refresh@0.4.20
├── eslint@9.31.0
├── globals@16.3.0
├── react-dom@19.1.0
├── react@19.1.0
├── tailwindcss@4.1.11
├── typescript-eslint@8.38.0
├── typescript@5.8.3
└── vite@7.0.5
The Vite config was updated.
1
2
3
4
5
6
7
8
9
$ cat vite.config.ts
import { defineConfig } from 'vite'
import react from '@vitejs/plugin-react'
import tailwindcss from '@tailwindcss/vite'

// https://vite.dev/config/
export default defineConfig({
  plugins: [react(), tailwindcss()],
})
The default css files have been removed and a new index.css created.
1
2
3
4
$ ls src/*.css
src/index.css
$ cat src/index.css
@import "tailwindcss";
Enhance the workflow
At this point, our setup is complete. We can just ask Gemini to spin-up new projects by just giving the project name and it creates the same steps every time following our preferred stack and framework. However, there is still a chance that it can make mistakes. It might not follow our steps and do things on its own. To make it more predictable, we just ask Gemini to automate this whole thing and create a script instead. Then the script will bootstrap the project. This also saves us AI usage especially if you use API keys in your Gemini sessions.
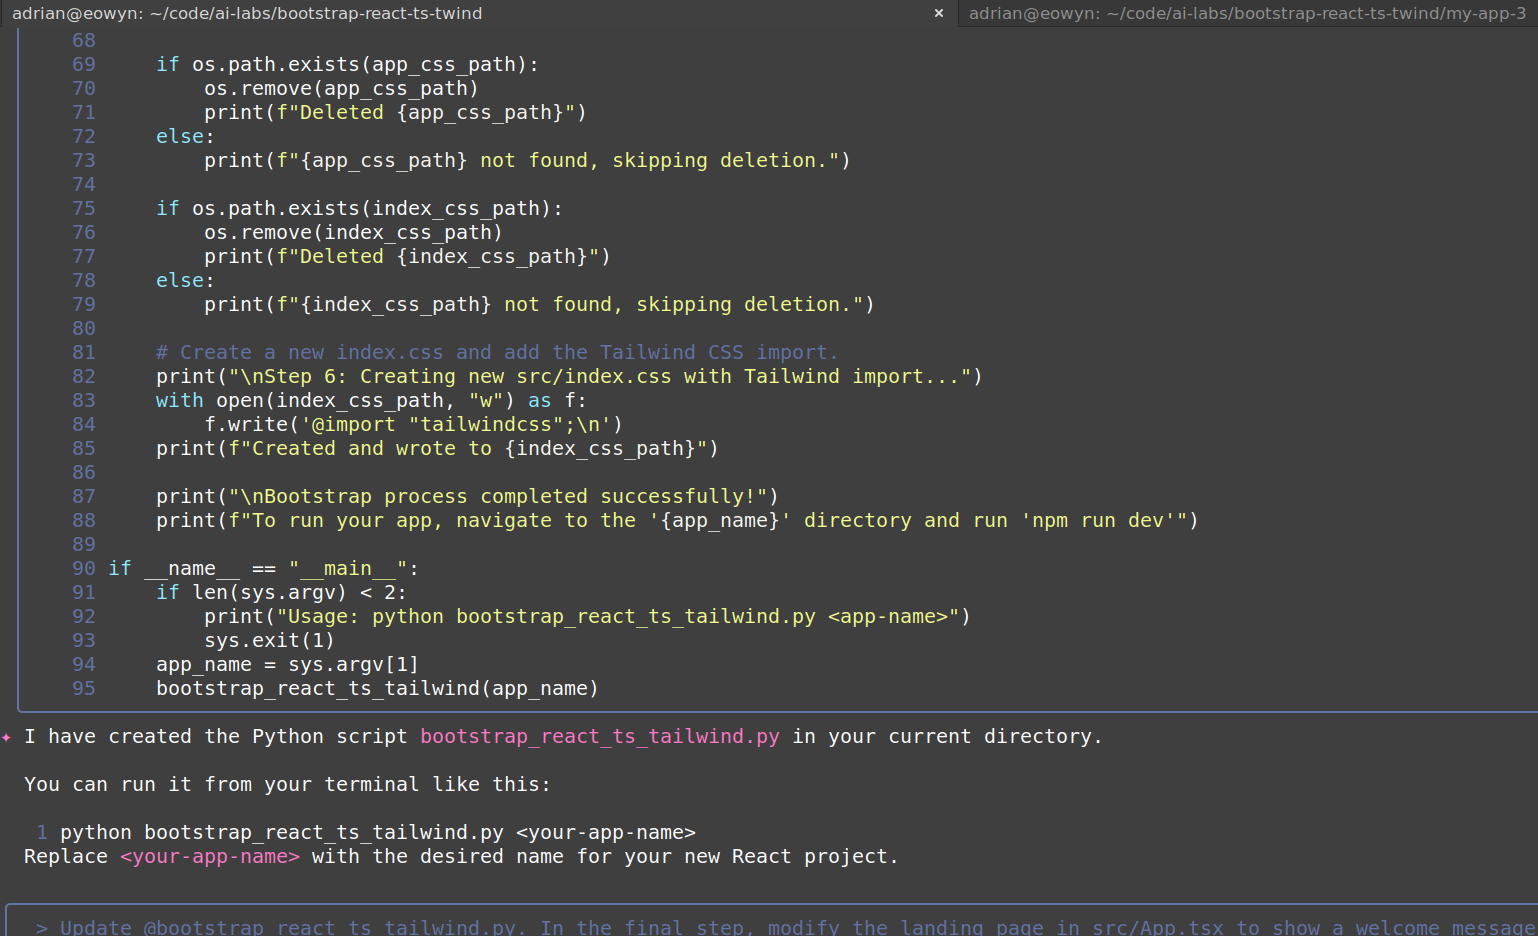
Generate a bootstrap script
We ask Gemini to create a Python script following our guidelines.
1
2
3
Create a Python script that follows the bootstrap steps in creating a React TS Tailwind app.

Refer to @GEMINI.md
Gemini writing Python coding process
Same as before, Gemini will prompt you again to confirm if the code is correct or at least what you expect it to write. You can review this and accept or propose other changes. Most of the time you just accept and test it out.
 Gemini CLI writing Python code
Test the script
Now, we run and test the newly created script and pass the project name like my-app-3.
1
2
3
4
5
6
7
8
9
10
11
12
13
14
15
16
17
18
19
20
21
22
23
24
25
26
27
28
29
30
31
32
33
34
35
36
37
38
39
40
41
42
43
44
45
46
47
$ python3 bootstrap_react_ts_tailwind.py my-app-3
Bootstrapping React TypeScript Tailwind app: my-app-3

Step 1: Creating React TS project...
STDOUT:

...(redacted for brevity)

Step 2: Installing project dependencies...
STDOUT:

added 188 packages, and audited 189 packages in 11s

...

Step 3: Installing Tailwind CSS for Vite...
STDOUT:

---

Step 4: Modifying vite.config.ts...
vite.config.ts modified successfully.

Step 5: Clearing default CSS files...
Deleted ... /my-app-3/src/App.css
Deleted ... /my-app-3/src/index.css

Step 6: Creating new src/index.css with Tailwind import...
Created and wrote to ... /my-app-3/src/index.css

Step 7: Modifying src/App.tsx for welcome message and styling...
src/App.tsx modified successfully.

Bootstrap process completed successfully!
To run your app, navigate to the 'my-app-3' directory and run 'npm run dev'

$ cd my-app-3/
$ npm run dev

> my-app-3@0.0.0 dev
> vite

  VITE v7.0.5  ready in 587 ms

  ➜  Local:   http://localhost:5173/
  ➜  Network: use --host to expose
  ➜  press h + enter to show help
Here’s the new page created by the Python script.
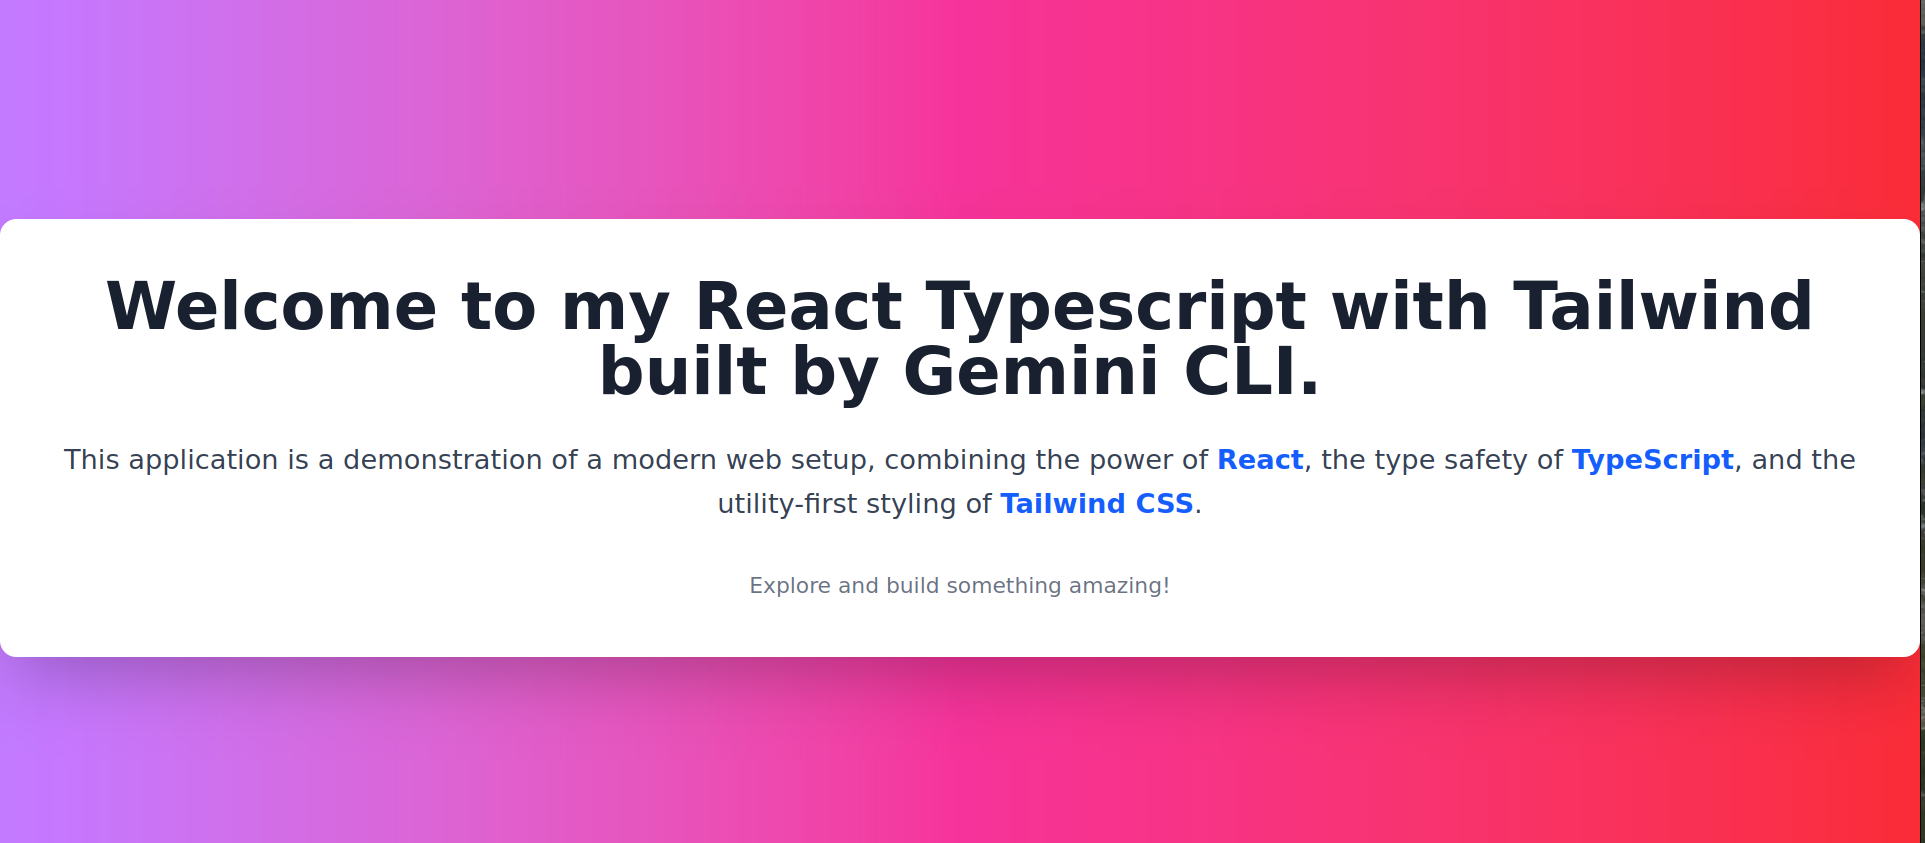 Gemini CLI Python generated landing page
Bug fixing
In the process while I was doing this, the first Python script generated by Gemini had a bug because it didn’t update the landing page src/App.tsx. I had to prompt it again to fix the landing page with a welcome message and use Tailwind CSS. To know more about the details of this, you can watch the video walkthrough where I recorded all the steps from beginning to end.
Conclusion
With Gemini CLI and its agentic tools, it does not just talk to you via chat but also do the execution of reading docs, writing scripts, and fixing bugs. We started with an empty folder with the idea of a workflow where we bootstrap a project from scratch with our preferred framework. Using context files like the GEMINI.md, we can guide AI to follow the steps within the context so that it builds the app according to our guidelines. This session with Gemini CLI only took 10 mins and the whole process including writing the guide is around 20 minutes. At the end, we have a working Python script that quickly builds a new React Typescript project with Tailwind CSS.
Checkout the code in Github
The code including the Python script, GEMINI.md, and the sample project generated can be found here.
Comments powered by Disqus.